
Play Videos Directly from Your NAS or Home Server: A Beginner's Guide
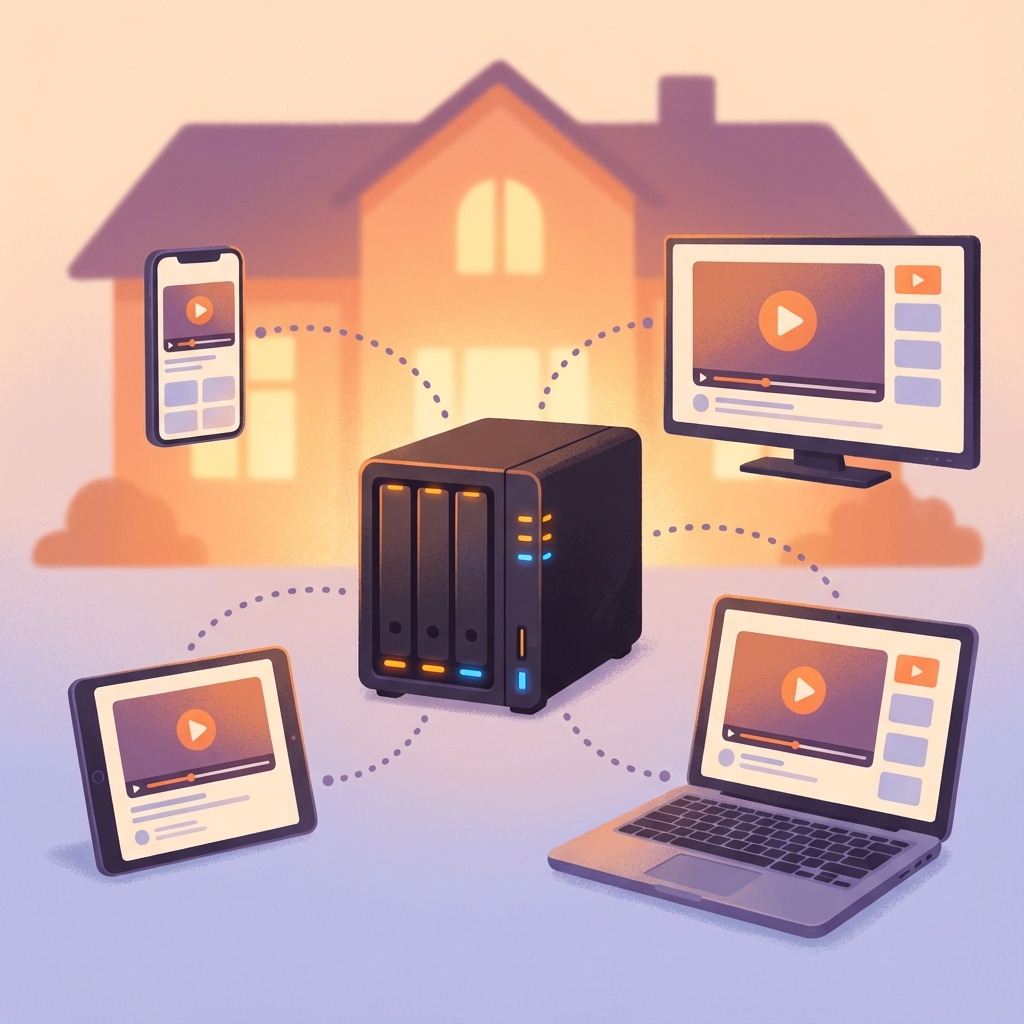
So you've taken the plunge. You bought a Synology, QNAP, or maybe you've set up a Raspberry Pi server to store your growing collection of movies, home videos, and downloaded content. No more running out of space on your laptop. No more paying monthly fees for cloud storage. Your data is yours, in your own home.
But now comes the inevitable question: How do I actually watch these videos?
You've got terabytes of movies sitting on this box in your closet, but when you want to watch something, you're still transferring files to a USB drive, or worse—downloading the entire movie to your phone before you can press play.
There has to be a better way. And there is.
The Problem with Traditional NAS Access
When most people set up a NAS, they think of it as "network-attached storage"—emphasis on the storage. It's a box that holds files. To access those files, you typically use:
- File Explorer / Finder - Mount the network drive, browse folders, copy files
- Manufacturer App - Synology Photos, QNAP File Station, etc.
- FTP or SMB - Old-school file transfer protocols
All of these work fine for moving documents around. But for video, they all share the same fundamental problem: they expect you to download the entire file before you can watch it.
For a 50GB 4K movie, that means:
- Waiting 10+ minutes to start watching (on a good network)
- Using up storage space on your device
- Not being able to scrub/skip to a later scene without waiting
This isn't 2005. We stream 4K video from Netflix without thinking about it. Why should your own content be harder to access?
Understanding Your Options
There are several ways to stream video from a NAS. Let's break them down from simplest to most powerful:
Option 1: DLNA / UPnP (The "Media Server" Approach)
Most NAS devices come with a built-in DLNA server. This is the "media server" that shows up on your smart TV or PlayStation.
Pros:
- Built-in, no extra software needed
- Works with smart TVs, game consoles, some media players
Cons:
- Very limited format support (many TVs only support basic MP4)
- No subtitle support (or terrible subtitle support)
- No remote access (only works on your home network)
- DLNA apps are universally awful on mobile devices
Verdict: Fine for basic use on TV, frustrating for everything else.
Option 2: Plex / Jellyfin / Emby (The "Full Media Center" Approach)
These are dedicated media server applications. You install them on your NAS, they scan your media library, download metadata (posters, descriptions), and provide a Netflix-like interface.
Pros:
- Beautiful interface
- Automatic transcoding for incompatible devices
- Subtitle support
- Remote access (with port forwarding or Plex Pass)
Cons:
- Complex setup (especially for remote access)
- Transcoding uses significant CPU resources
- Plex free version has limitations; premium is $120/year
- Jellyfin is free but requires more technical knowledge
- May not support all formats without transcoding
Verdict: Great if you want a full media center experience, overkill if you just want to watch your files.
Option 3: WebDAV + Web Player (The Simple, Universal Approach)
This is the approach I want to highlight, because it's often overlooked.
WebDAV is a web-based file access protocol. It's been around since 1996 and is supported by virtually every NAS and web server. Think of it as "HTTP, but for files."
The key insight is: if your file is accessible via HTTP(S), your browser can stream it directly.
No transcoding. No complex server setup. Just a URL pointing to your video file.
Pros:
- Works on any device with a web browser
- No transcoding required (plays original quality)
- Easy remote access (just expose the WebDAV port)
- Works with any video format your browser supports
- Can use free tools like OpenList to add a nice file browser
Cons:
- Requires WebDAV to be enabled on your NAS
- Need a web player that can handle WebDAV URLs
- No automatic metadata (no movie posters)
Verdict: The best balance of simplicity and functionality for most users.
How to Set Up WebDAV Streaming
Step 1: Enable WebDAV on Your NAS
For Synology:
- Open Control Panel → File Services → WebDAV
- Check "Enable WebDAV" and/or "Enable WebDAV HTTPS"
- Note the port number (default: 5005 for HTTP, 5006 for HTTPS)
For QNAP:
- Open Control Panel → Applications → Web Server
- Enable WebDAV
- Configure the port
For OpenMediaVault / TrueNAS:
- Enable the WebDAV plugin/service
- Configure share paths and authentication
Step 2: Access Your Files
Your videos are now accessible at URLs like:
https://your-nas-ip:5006/video-folder/movie.mp4
If your NAS supports it, you can make this public (with authentication) for remote access.
Step 3: Use a Compatible Web Player
Here's where it comes together. You need a web-based video player that can:
- Browse WebDAV directories
- Stream video files directly
- Handle various formats
OnlinePlayer supports this workflow. You can either:
- Paste a direct video URL
- Connect via OpenList (an open-source file browser that works with WebDAV)
This gives you:
- Instant playback of your NAS videos in any browser
- No transcoding (your NAS doesn't need a powerful CPU)
- Cross-device support (phone, tablet, laptop, TV browser)
The OpenList + OnlinePlayer Workflow
OpenList is an open-source project that provides a beautiful web interface for browsing files from various storage backends, including WebDAV.
Here's how to set it up:
-
Deploy OpenList (Docker recommended):
docker run -d --name openlist \ -p 5244:5244 \ -v /path/to/data:/opt/openlist/data \ openlist/openlist:latest -
Add your NAS as a WebDAV storage:
- Go to OpenList admin panel
- Add storage → WebDAV
- Enter your NAS WebDAV URL, username, and password
-
Browse and play:
- Navigate to your video files in OpenList
- Click a video → it opens in the built-in player
- Or copy the direct URL → paste into OnlinePlayer for more features
Why This Approach Rocks
| Feature | DLNA | Plex | WebDAV + OnlinePlayer |
|---|---|---|---|
| Setup complexity | Low | High | Medium |
| Format support | Limited | Limited (or transcoding) | Full browser support |
| CPU usage | None | High (transcoding) | None |
| Remote access | No | Yes (complex) | Yes (simple) |
| Cost | Free | Free/$120/yr | Free |
| Works on any device | TVs only | Apps required | Any browser |
What About Playing on TV?
If you want to watch on your TV, you have a few options:
- TV's built-in browser - Some smart TVs (Samsung, LG) have usable web browsers that can play video URLs
- Chromecast / AirPlay - Cast from your phone or laptop
- Android TV Box - Install a browser and navigate directly
- Fire TV Stick - Use the Silk browser
For the best experience, I recommend casting from a phone or using an Android TV box. TV browsers tend to be... limited.
Security Considerations
If you're exposing your NAS to the internet:
- Always use HTTPS (not HTTP)
- Enable authentication (don't make your files public)
- Use a reverse proxy (like Nginx or Caddy) for better security
- Consider a VPN (Tailscale or WireGuard) for private access without port forwarding
A quick ZeroTier or Tailscale setup gives you secure access to your home network from anywhere, without exposing any ports to the internet.
Final Thoughts
You don't need an expensive media server. You don't need complex transcoding. You don't need to download files before watching them.
With WebDAV and a capable web player, your NAS becomes a true streaming server—accessible from any device, anywhere, playing your original quality content.
The setup takes about 30 minutes. The payoff is years of convenient access to your media collection.